Tyndall Effect in Dermal Fillers: What It Is & How to Prevent It
22 May 2025
In this post:
- The Tyndall effect in dermal fillers is a blueish discolouration caused by superficial placement of hyaluronic acid dermal filler, particularly in thin-skinned areas like the tear troughs.
- Key causes include injecting filler too close to the skin’s surface, using large boluses, or choosing fillers with larger particle sizes.
- Prevention hinges on proper injection depth, careful product selection, and thorough patient assessment. If it occurs, the gold standard treatment is hyaluronidase to dissolve the filler, with resolution typically within 24 hours.
- Practitioners must prioritise prevention, early recognition, and effective management of complications. Tools like facial ultrasound are essential for safe, precise injections and avoiding issues like the Tyndall effect.
When it comes to dermal filler complications, the Tyndall effect can be one of the most visually frustrating for both practitioners and patients. The unwanted bluish hue beneath the skin not only impacts a patient’s physical appearance, but it can also damage their confidence and the reputation of the injector.
Understanding the Tyndall phenomenon is essential for any medical professional working in aesthetic medicine. In this post, we’ll dive into what the Tyndall effect is, how it presents, and what to do if it happens.
What is the Tyndall Effect?
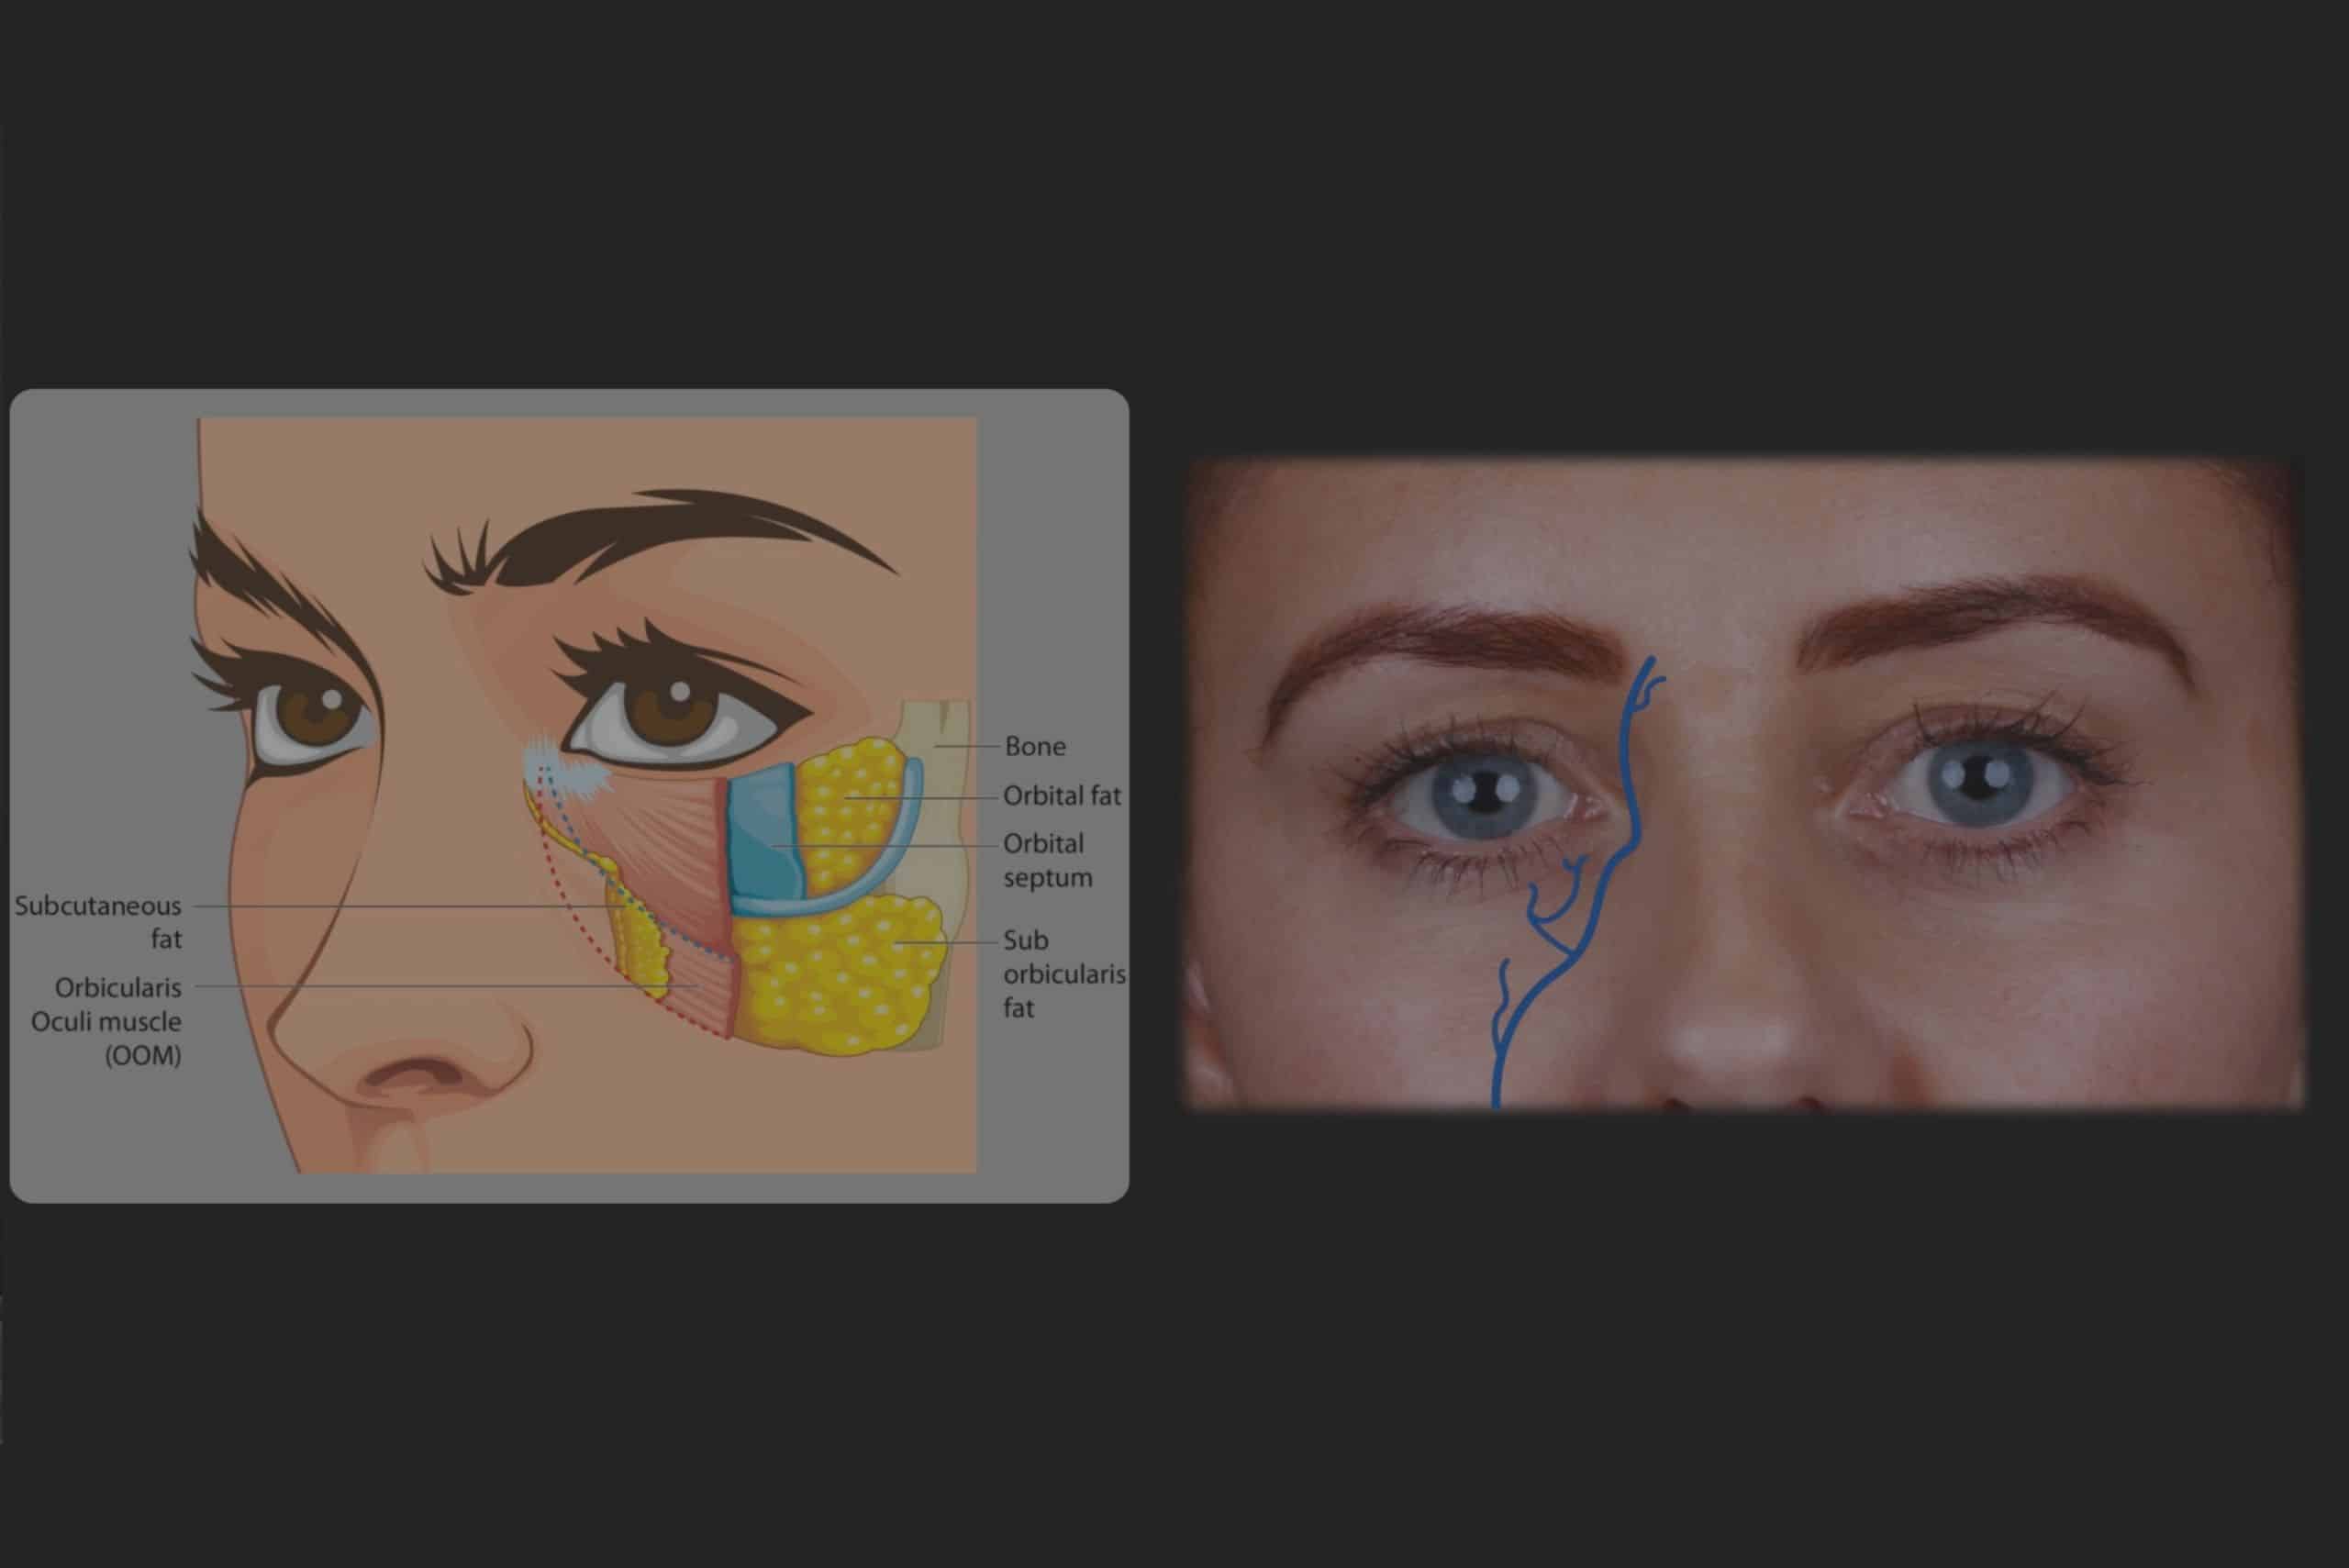
Named after 19th century physicist John Tyndall, this optical phenomenon describes how light scatters when passing through particles in its path. In aesthetic medicine, the term is used to describe the bluish discolouration visible beneath the skin following filler treatment. You’ll see this effect happen most commonly with hyaluronic acid (HA) fillers placed in the tear trough areas. Botched tear trough filler is one of the most common complications, and the Tyndall effect is often the first sign of it.
The science here is straightforward.
Blue light has a shorter wavelength and scatters approximately 10 times more than red light when passing through small particles. When HA filler is placed too superficially beneath the skin, light interacts with these particles, causing more blue wavelengths to scatter back to the surface. This results in that telltale blue-grey appearance.
This is actually the same principle that makes the sky appear blue.
Why Does It Happen With Dermal Fillers?
The Tyndall effect occurs primarily due to three key factors:
- Superficial placement: When filler is injected too close to the skin’s surface rather than in deeper tissue planes
- Large bolus deposits: Concentrated amounts of product in one area create more particle density for light scattering
- Product selection: More particulate HA fillers with larger particle sizes increase the risk of light scattering
While less common than bruising or swelling, the Tyndall effect occurs frequently enough that every injector should know how to prevent and manage it effectively.
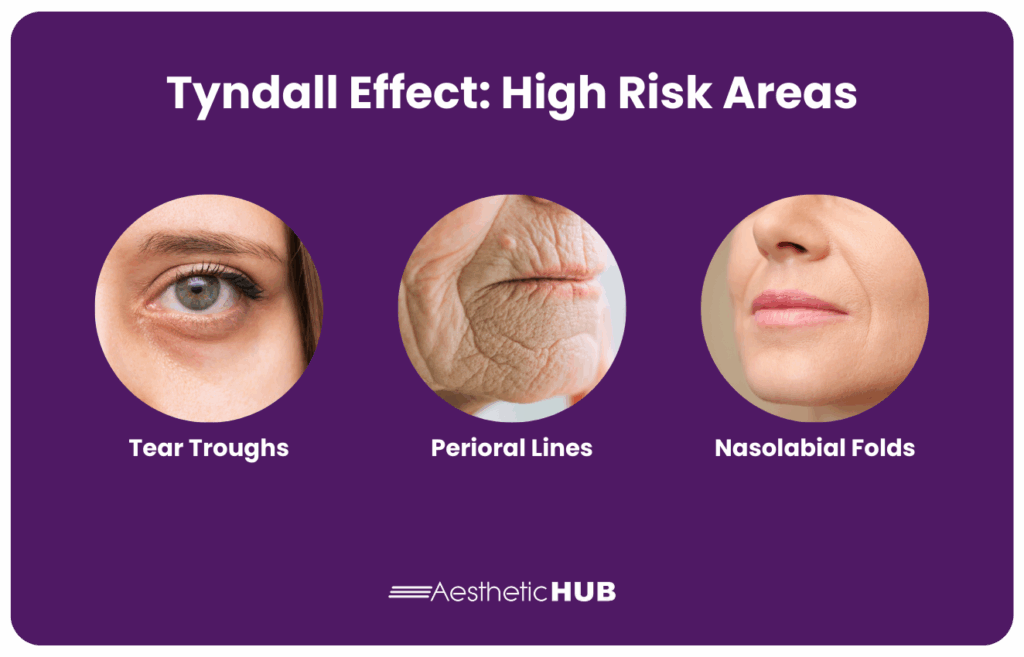
High-Risk Areas to Approach with Caution
Some facial regions are particularly susceptible to the Tyndall effect due to naturally thinner skin:
- Tear troughs: The under-eye area has extremely thin skin with minimal fat beneath it
- Perioral region: Fine lines around the mouth (also known as smoker’s lines) involve superficial injections in thin skin
- Nasolabial folds: Though less common, inexperienced practitioners may place product too superficially here. Nasolabial fold filler gone wrong is among the most common aesthetic complications.
Patient factors like age-related skin thinning or compromised skin quality can further increase the risk. This is why thorough facial assessment before treatment is crucial for successful outcomes.
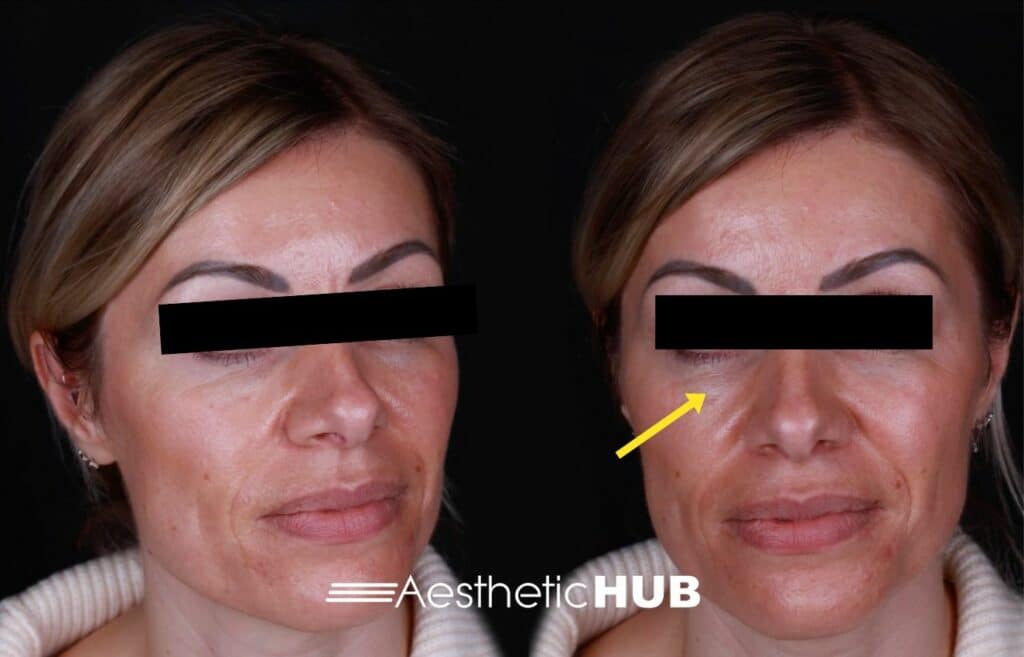
Spotting the Tyndall Effect
This complication may be confused with bruising initially, but unlike bruising, it doesn’t resolve within a few days. A persistent blue-grey discolouration beneath the skin is the hallmark sign, often accompanied by slight raising or lumpiness where the filler was placed.
The effect may appear immediately after treatment or develop days to weeks later and can persist for months or even years without proper intervention. Under poor lighting, the discolouration may be subtle and easily missed during initial assessment, highlighting the importance of proper follow-up and good clinical lighting during patient evaluations.
How to Prevent Tyndall Effect
Preventing the Tyndall effect comes down to excellent technique and patient assessment:
- Proper injection depth: In high-risk areas like tear troughs, be sure to inject at the periosteal level or in the suborbicularis plane
- Small aliquots: Avoid large bolus deposits, especially in areas of thin skin
- Careful product selection: Consider using less particulate fillers in high-risk regions
- Patient assessment: Evaluate skin thickness before treatment and adjust your approach accordingly
Always discuss this potential complication with patients during the informed consent process, particularly when treating high-risk areas. Remember that the Tyndall effect is largely preventable with proper technique, which is why ongoing training and education in facial anatomy for aesthetics and injection techniques are essential for aesthetic practitioners.
How to Treat Tyndall Effect
If you encounter this complication, several treatment approaches are available depending on timing and severity.
For signs of Tyndall effect immediately after treatment, a firm massage may help disperse superficial filler if done promptly. In some cases a simple expression technique using an 18G needle stab incision followed by gentle pressure may release the product. When the filler is accessible, needle aspiration can sometimes remove the material before it integrates with surrounding tissues.
Because the Tyndall effect often only presents in the days or weeks following treatment, massaging alone won’t resolve the complication.
The gold standard for treating Tyndall effect involves dissolving the filler with hyaluronidase. Resolution typically occurs within 24 hours, though sometimes a second treatment is needed for complete correction. Hyaluronidase can be used on filler regardless of whether it was placed a few days or many years ago.
An Injector’s Responsibility
As aesthetic practitioners, we have a duty to:
- Prevent complications through proper training, technique, and patient selection
- Recognise complications early through careful assessment and follow-up
- Manage complications effectively using proven, evidence-based approaches
- Support patients throughout the process with clear communication
The best way to uphold these responsibilities is by maintaining your commitment to patient safety through continued education and investment into the latest industry technologies.
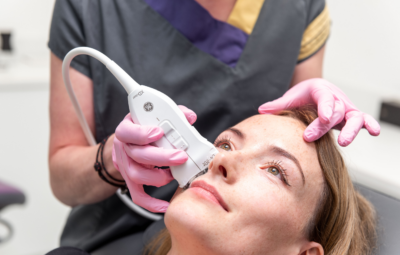
One of the most essential tools to any safe aesthetic practice is facial ultrasound. It is the single best way to prevent complications like the Tyndall effect from happening. Ultrasound guided injections allow you to visualise exactly what’s happening beneath the skin as you inject. This helps to avoid injecting the filler too superficially and to see the precise size of each filler deposit.
For the world’s most renowned ultrasound training, look no further than the Smileworks Aesthetic Training HUB.

Learn From The Best in the UK
It’s time to properly introduce ourselves. We are the Smileworks Aesthetic Training HUB – an esteemed aesthetic training centre based in the UK. We pride ourselves on our wide range of online and hands-on courses tailored for every skill level.
At the HUB, we offer the world’s best complication training using aesthetic ultrasound. With ultrasound, you’ll dramatically decrease the risk of giving your patients the dreaded Tyndall effect. It’s not just a tool for rare complication cases or advanced injectors. It’s the foundation for a safer, smarter, and more ethical practice for all practitioners.
For top-tier ultrasound learning, look no further than our Foundation Facial Ultrasound Course and our Advanced Facial Ultrasound Course, two musts for all injectors. Ultrasound is the single most important tool for ensuring safe and effective treatments every time.
Maybe you’re still a beginner injector. Take our Foundation Botox & Lip Filler course to gain the best foundations in aesthetic injecting. All of our courses start online, so you can jump into the course material right away!
For those looking for more in-depth training, we recommend booking a one-to-one mentoring session with Dr MJ. These sessions at 100% customisable, and you’ll receive personalised instruction based on your skill level and goals.
Join us at the HUB. Let’s shape the future of aesthetic medicine together and ensure safe, effective, and transformative results for every patient.
Want to try out our courses before committing? Take advantage of our free trial for a taste of what learning at the HUB is like.
Related blog posts:
Remarkable Aesthetics Courses
Advanced Facial Ultrasound
Explore more
One-to-One Mentoring
Explore more
Facial Ultrasound
Explore more
Lip Filler
Explore more
Botox
Explore more