Botched Tear Trough Filler: Dr MJ’s Top Tips for Correction
14 August 2025
In this post:
- Botched tear trough filler stems from three predictable causes: poor case selection, inadequate anatomical knowledge, and superficial filler placement that creates long-term tissue distortion.
- Dr MJ reveals the critical anatomical boundaries of the safe tear trough compartment and why the medial area often cannot, and should not, be injected.
- Ultrasound guidance transforms tear trough correction from guesswork into precision medicine, allowing practitioners to target problematic filler while preserving healthy tissue.
- Prevention strategies include strict patient selection, addressing midface support first, and recognising when surgical referral is more appropriate than filler treatment.
Tear trough filler looks deceptively simple in the countless TikToks and Reels we see on our feeds. A quick injection, instant results, and a happy patient walking out the door. Seems easy, right? But in real clinical practice, it’s one of the most misunderstood and poorly executed procedures in aesthetic medicine.
While the tear trough area isn’t necessarily the ‘danger zone’ that many practitioners fear in terms of filler blindness or necrosis (serious vascular events are genuinely rare here), it has become one of the most common treatment areas for patient dissatisfaction, aesthetically disastrous results, and long-term tissue distortion that follows patients for years.
Smileworks Aesthetic Training HUB founder and lead instructor Dr MJ Rowland-Warmann witnesses this reality every week in our Liverpool-based complication clinic, where a staggering 60% of cases come from botched tear trough treatments.
“Most tear trough disasters aren’t random,” explains Dr MJ. “They’re predictable, and avoidable, if you understand facial anatomy, respect the limitations of the area, and stop trying to cheat with superficial placement.”
Why Tear Trough Filler Goes Wrong
After correcting hundreds of botched tear trough cases, Dr MJ has identified three primary drivers of complications that inexperienced aesthetic practitioners consistently fall into.
1. Poor Case Selection
Sometimes the worst complications begin before the needle even touches the skin. Many injectors treat ‘eye bags’ instead of genuine hollowing, completely ignore the midface by skipping essential cheek filler that would have indirectly supported the tear trough, and accept patient who should have been referred for lower blepharoplasty instead of attempting filler treatment.
2. Lack of Anatomical Knowledge
Too many practitioners operate under the dangerous misconception that there’s adequate space medially to inject when anatomically, there simply isn’t. They fail to recognise that the orbicularis muscle is adherent to bone in the medial aspect, leaving no safe submuscular pocket for filler placement.
3. Over-Correction for Immediate Gratification
This is where things get particularly problematic. Deep filler placement produces subtle, often ‘underwhelming’ immediate results that don’t photograph well for social media. So injectors will compensate by adding more product superficially, on top of the muscle, to create that instant wow-factor that both patients and practitioners crave. Long term, that superficial filler will expand, draw in water, and progressively distort the delicate periorbital skin.
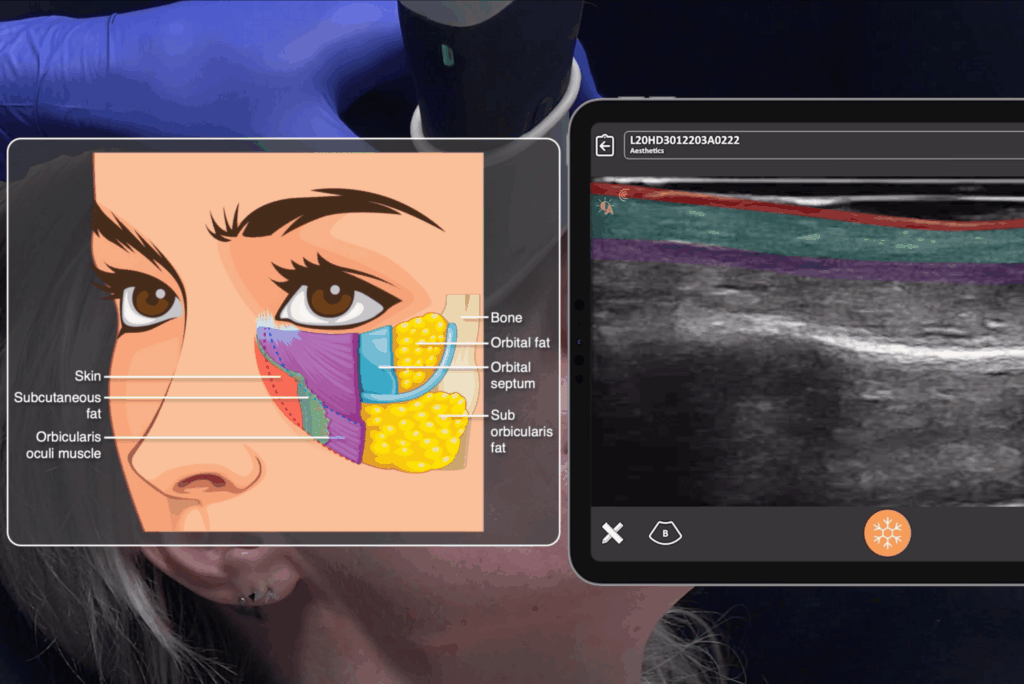
The Advanced Anatomy of the Tear Trough
Dr MJ emphasises that understanding the precise anatomical boundaries of the safe tear trough compartment is a non-negotiable for anyone attempting this treatment. The safe zone is defined by specific anatomical landmarks:
- The periosteum forms the deep boundary
- The orbicularis oculi muscle creates the superficial boundary
- The orbicularis retaining ligament superior and the zygomatic cutaneous ligament inferior
What many injectors don’t appreciate is how dramatically the available volume changes as you move from lateral to medial. Laterally, you’re working with approximately five tissue layers and a well-defined submuscular space perfect for filler. But as you progress medially, this space compresses to just skin, muscle, and bone.
This anatomical reality creates a critical clinical point: push your cannula medially searching for a space that doesn’t exist, and you’ll inevitably end up placing filler intra-muscularly (causing chronic swelling), superficially (creating the Tyndall effect and distortion), or directly into the angular vein (risking vascular injury or significant haematoma).
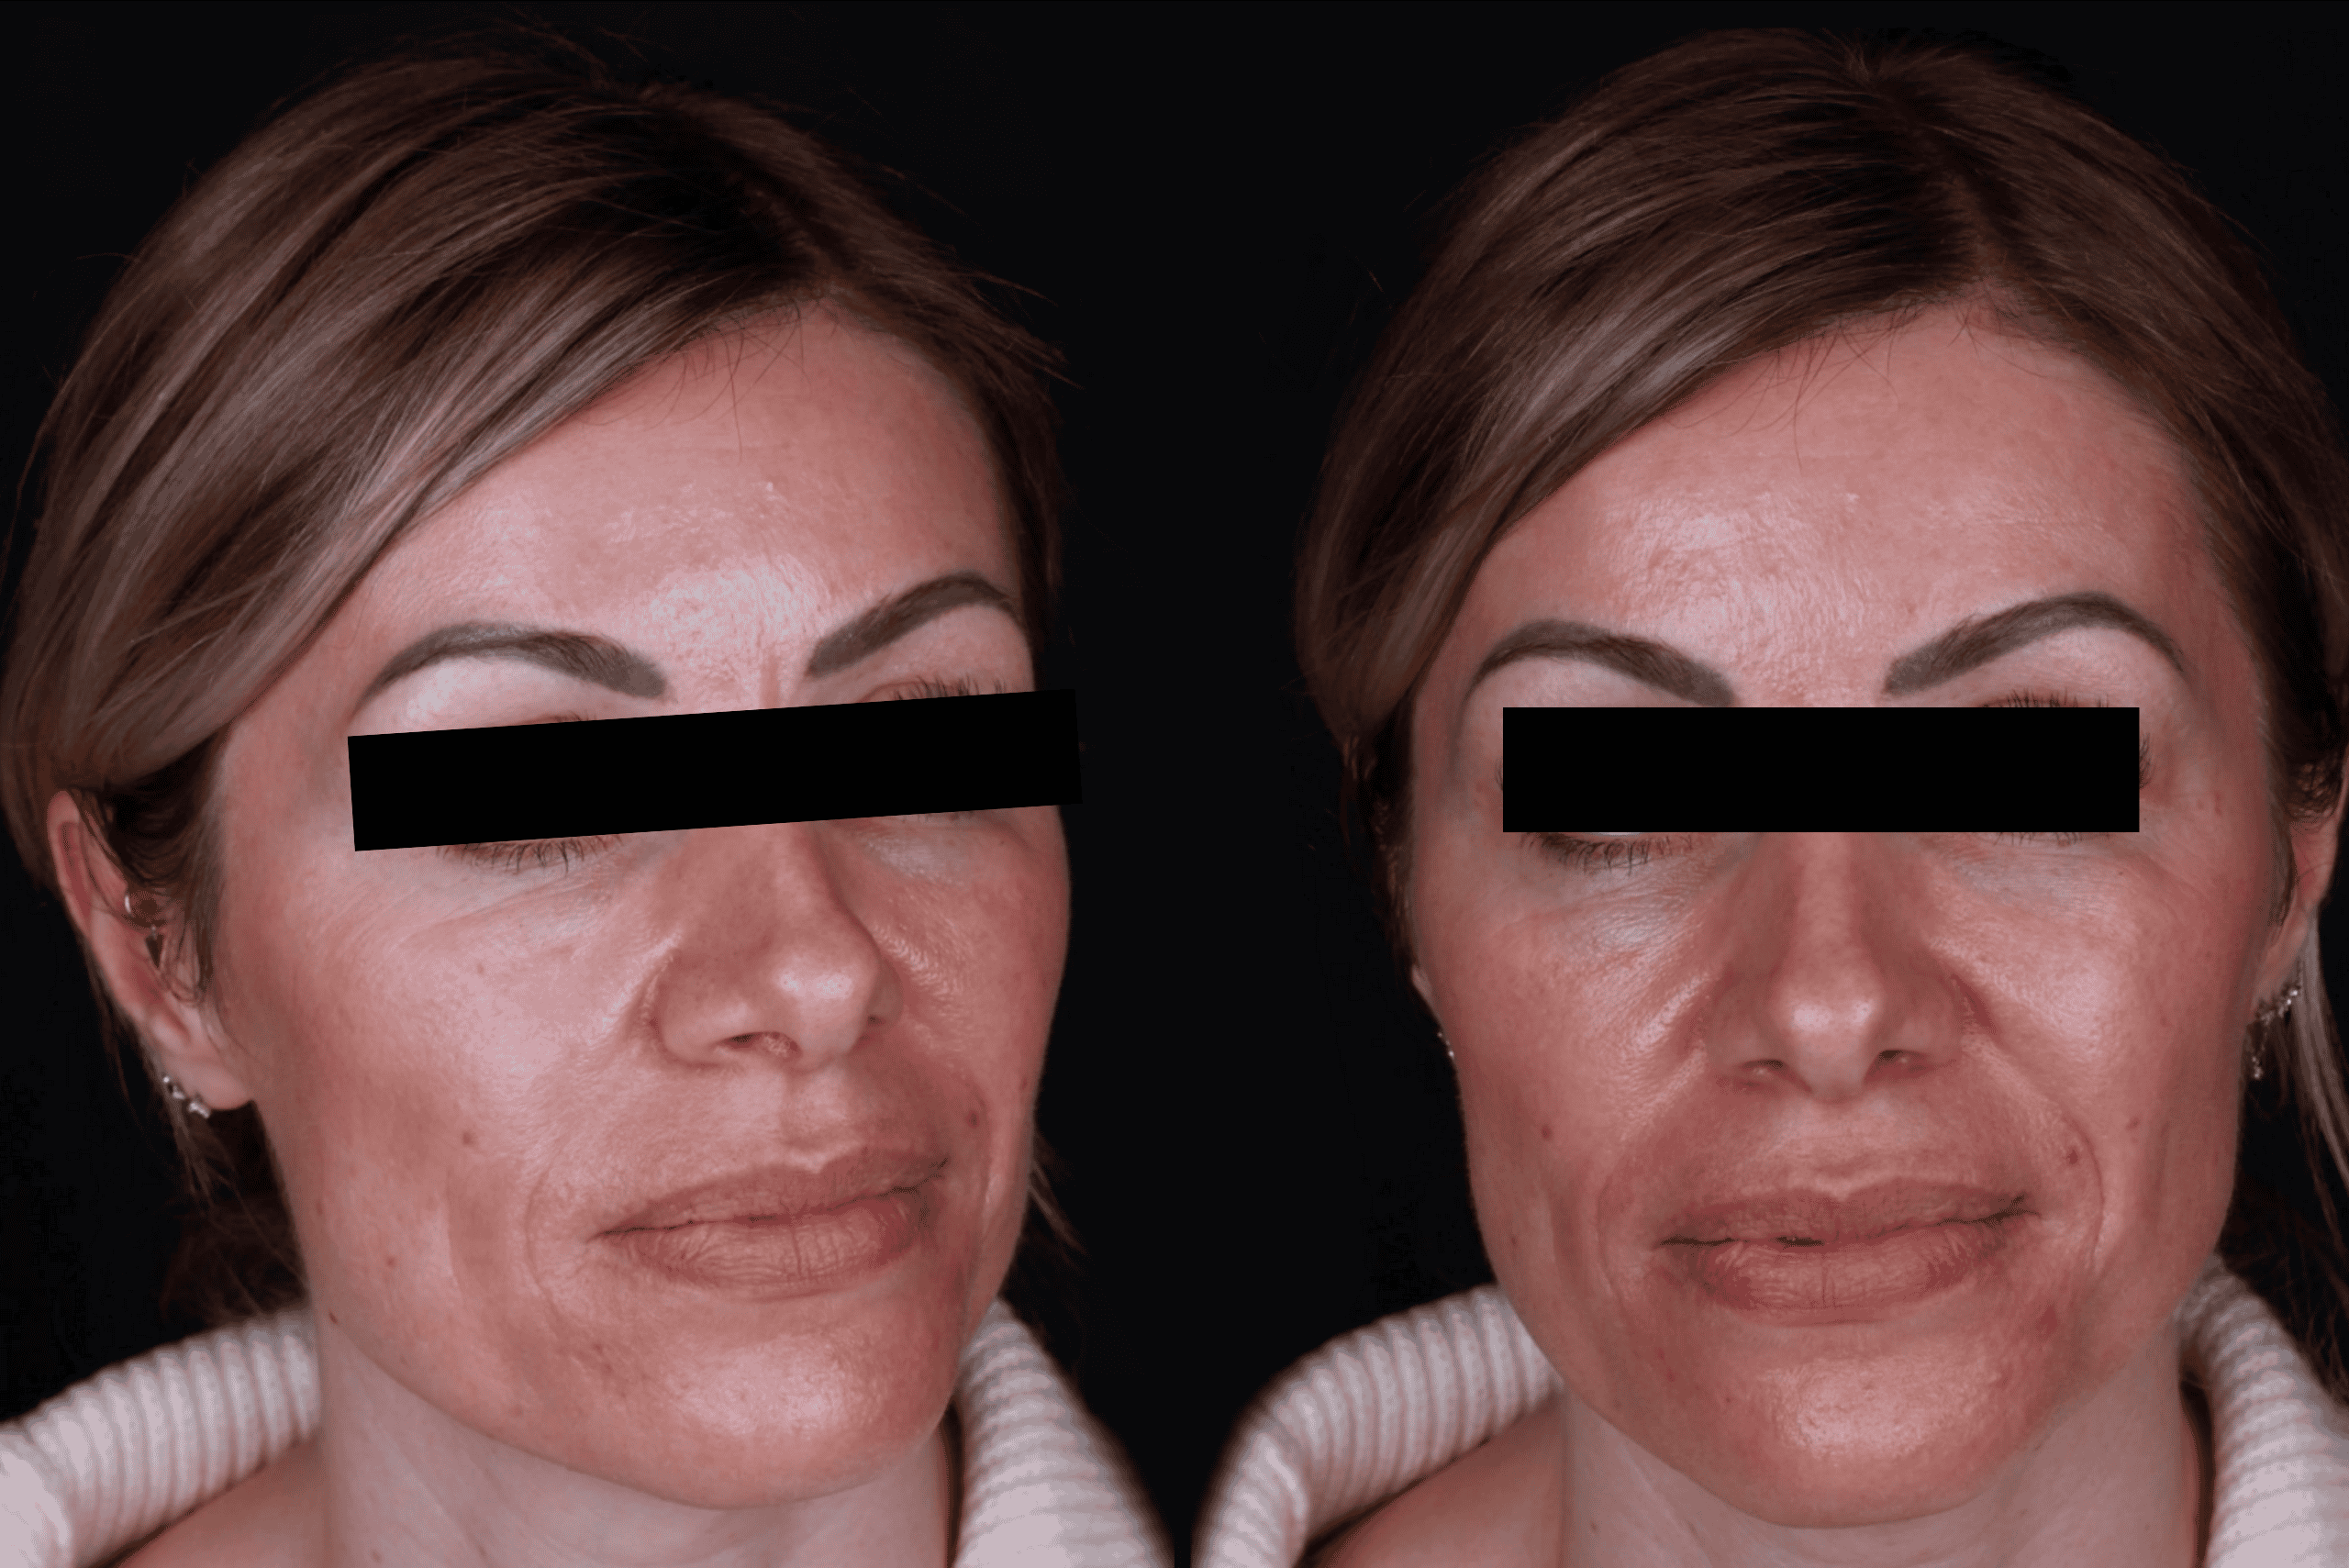
What Botched Tear Trough Filler Looks Like
Dr MJ has observed consistent patterns in how these complications present over time. Immediate presentations are rare unless there’s vascular compromise. Early presentations within weeks typically involve persistent puffiness and notable swelling upon waking The most challenging cases arrive months or even years later with progressive fluid retention, bluish discolouration, and tissue changes from chronic oedema.
Patients typically present with these characteristic signs:
- Puffy ‘sausages’ under the eyes
- Morning swelling that partially resolves during the day
- The telltale Tyndall effect creating a blue hue from superficial filler
- Palpable nodules
- Skin laxity from prolonged fluid retention
The Pathophysiology of Long-Term Swelling
Dr MJ explains the crucial difference between proper and improper filler placement in terms of long-term outcomes. When filler is positioned deep under the orbicularis muscle, it remains confined and supported by retaining ligaments. Even if the product expands, it’s contained within appropriate anatomical boundaries.
However, when filler sits superficial to the orbicularis muscle, it’s positioned directly under the thin periorbital skin with no structural restraints. This uncontained filler freely draws in water over months and years, resulting in lymphatic flow disruption, chronic oedema, and progressive thinning and discolouration of the overlying skin.
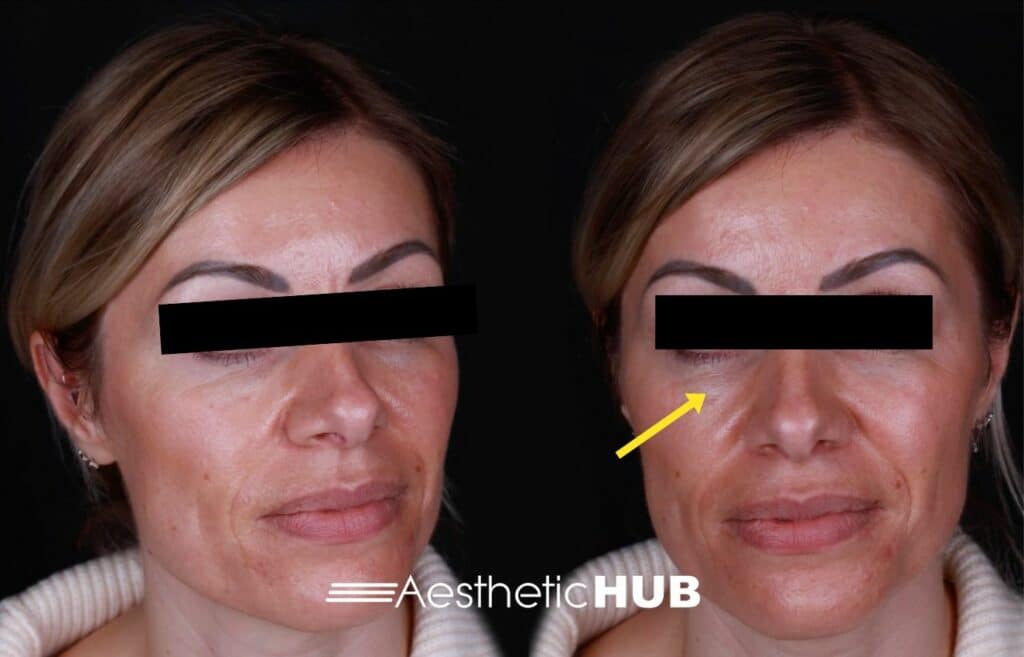
How to Treat Botched Tear Trough Filler
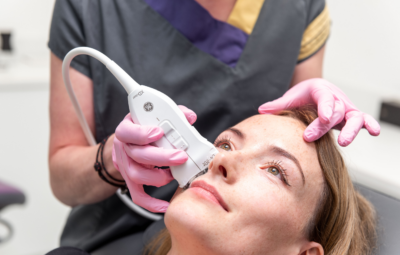
“Without ultrasound, you’re guessing,” states Dr MJ bluntly. “With ultrasound, you’re targeting.” If you’re a practitioner serious about correcting tear trough complications, ultrasound isn’t optional. It’s an essential tool.
Facial ultrasound provides several critical advantages:
- Confirming exact filler location (submuscular vs. subcutaneous)
- Identifying vascular structures (particularly the angular vein)
- Guiding precise hyaluronidase injection to dissolve only the problematic filler
- Significantly reducing the hyaluronidase dose while minimising risk of unnecessary volume loss
Dr MJ’s ultrasound protocol for tear trough dissolution is methodical. The steps are:
- Scan the infraorbital area in both transverse and longitudinal planes
- Identify filler echogenicity and placement plane filler
- Map angular vessels to avoid intravascular injection
- Use a fine needle or cannula under ultrasound guidance for precise hyaluronidase delivery
- Re-scan post-dissolution to confirm reduction
This approach follows a systematic pathway. The patient consultation beforehand must set realistic expectations, explaining that dissolving filler may reveal the true hollows and signs of ageing that were masked by the distortion. Patients need to understand that the swelling and distortion was filler-induced. Hyaluronidase simply unmasks reality.
Ultrasound mapping follows, locating all deposits without assuming symmetry and looking for filler in unexpected planes. During dissolution, target only the filler causing distortion using a minimal hyaluronidase dose to protect unaffected tissue. Finally, wait at least two weeks before considering any re-injection and reassess whether the patient actually needs filler versus surgical referral.
What If It Doesn’t Get Better After Dissolving?
Some chronic cases present with permanent lymphatic damage, worsened fat prolapse, or skin laxity from prolonged swelling. In these situations, Dr MJ explains that hyaluronidase alone isn’t sufficient. These patients may require lower blepharoplasty, fat repositioning, or midface lifting for proper structural support.
How to Prevent Tear Trough Filler Gone Wrong
Dr MJ’s prevention strategy is refreshingly honest: decline most tear trough cases because patient selection is absolutely key.
Be sure to:
- Always address the cheeks before the troughs to restore midface support first
- Avoid superficial placement at all costs
- Learn and respect the limits of medial trough (sometimes it simply cannot be filled)
- Integrate pre-treatment ultrasound scanning into your standard workflow

The Takeaway: Ultrasound Before You Inject
The under-eye area is unforgiving territory in aesthetic medicine. Misplaced filler here isn’t just an unattractive inconvenience. It can be genuinely career-damaging if you lack the skills and tools to correct it properly.
Dr MJ emphasises, “If you can see the anatomy and filler on a screen before you inject, you’ll never have to guess, and you’ll rarely have to fix your own mistakes.” Ultrasound guided injections is no longer optional for advanced injectors; it’s become the standard of care for safe, targeted correction and for planning tear trough treatments that don’t create problems in the first place.
The future of aesthetic medicine demands practitioners who combine theoretical knowledge with practical skills and modern diagnostic tools. At the HUB, we prepare practitioners for these complex scenarios through comprehensive facial ultrasound training.
Our Foundation Facial Ultrasound Course and our Advanced Facial Ultrasound Course take the guesswork away, allowing you to visualise the tear trough area and understand structures in ways that static diagrams never could. When you see anatomy in real time, your understanding transforms from just theory to truly practical.
For those looking for more in-depth training, we recommend booking a one-to-one mentoring session with Dr MJ. These sessions are 100% customisable, and you’ll receive personalised instruction based on your skill level and goals.
Join us at the HUB today. Let’s shape the future of aesthetic medicine together and ensure safe, effective, and transformative results for every patient.
Want to try out our courses before committing? Take advantage of our free trial for a taste of what learning at the HUB is like.
Related blog posts:
Remarkable Aesthetics Courses
Advanced Facial Ultrasound
Explore more
One-to-One Mentoring
Explore more
Facial Ultrasound
Explore more
Lip Filler
Explore more
Botox
Explore more